Journal #15: To the Edge
by Miles Raymer
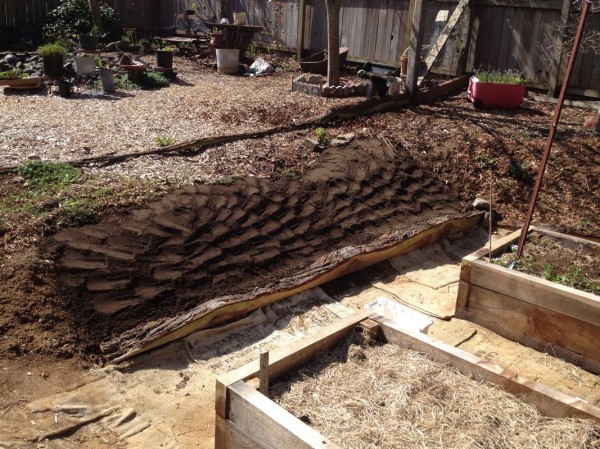
The importance of edge is one of the best gardening tips I took away from Gaia’s Garden, Toby Hemenway’s excellent permaculture guide. Loosely defined, “edge” describes all the parts of the garden that we don’t always think of as useful, especially for growing edible plants. Over the years, Ma has done a great job of using edge to grow beautiful flowers as well as perennials and ground-cover plants that don’t require irrigation, but we are now turning our attention to ways we can use edge to further maximize the garden’s output. So although Ma and I have implemented a rather typical “boxes and rows” style for the new garden, we’re also determined to edge our way to increased food production. Fortunately, leveling the lawnspace created plenty of fresh edge, including some inclines that are perfect for strawberries. One of the many useful pieces of information I picked up at OAEC is that strawberries love to grow on hillsides (they originated growing on dunes). Here’s a simple example of how to take a dirty slope and turn it into a productive part of the garden:
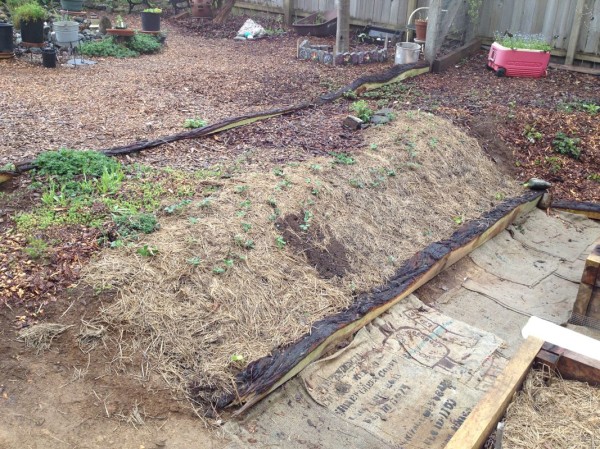
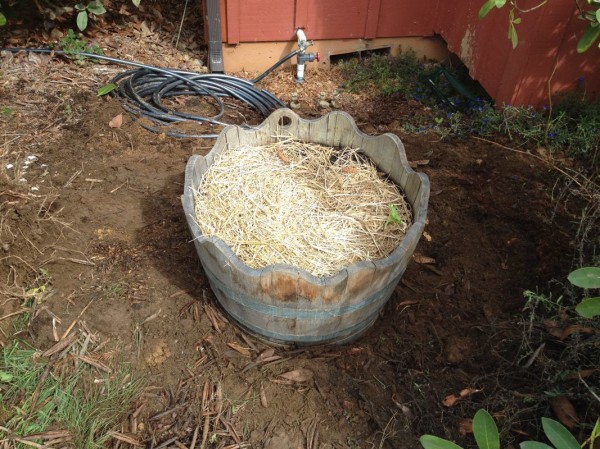
Plant the strawberries on the slope’s high end so they can expand downhill. You can also add rice straw to help with weed suppression.
We haven’t had trouble with gophers eating our strawberries in the past (we currently grow them in un-wired beds), so perhaps the gophers will stay away from these as well. As you can see, the pesky rodents already dug right into the middle of the strawberries, but they actually didn’t eat any of the plants. We hope this trend continues, but can always replant with gopher cages if needed.
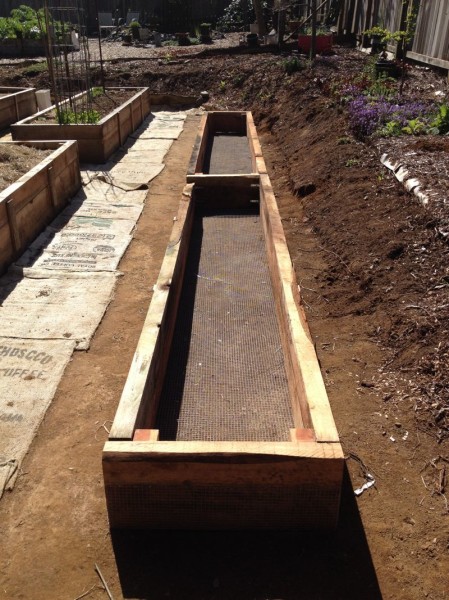
In another attempt to effectively utilize edge space, I invited my buddy Tyler Kirschner over to help me make a new raised bed. I have to credit Ma for pushing me to make this bed, as it is situated in a spot I had originally identified as too narrow for significant use. But I managed to design a bed that is longer, skinnier, and six inches shorter than the other beds we’ve built. The bed is over 25′ long, so I decided to put a divider in the middle for increased stability. This also allowed me to apply the same basic design I used to make the other beds, and then tack on three walls of a second frame so the end of the first bed doubles as the beginning of the next one.
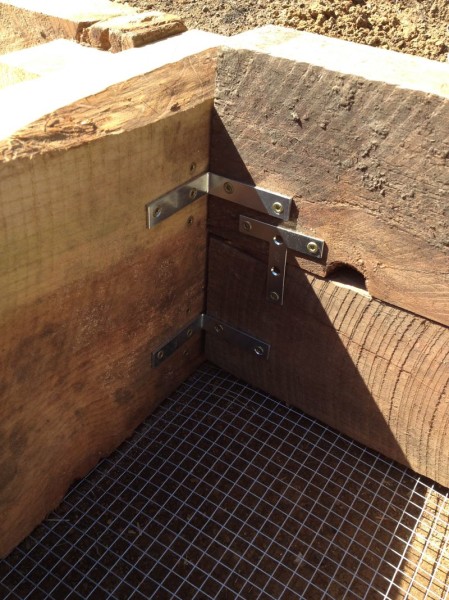
Rather than trying to use corner posts to attach the second frame to the first one, I simplified the process by using these metal braces
This long bed is now home to a host of newly acquired tayberries, and will also be used for bean cultivation when the time comes later in the growing season. Special thanks to Tyler for his great work and affable companionship. Ma recently recounted that Tyler was just three months old when our families first met, a fact from which I derive deep satisfaction in light of our ongoing friendship and continued presence in the same community.
My third edging project is currently in progress. Ma has long desired to have a Meyer lemon––a fruit tree that apparently flourishes near surfaces that absorb and radiate heat. Ma found a suitable locale in an edge area near one of the house’s southern-facing walls. We’ve previously used this space exclusively for growing rhododendrons and other perennials, but now we’re getting down to business with something more nourishing (perhaps that’s unfair to the rhodys, whose exceptional blossoms most definitely enrich the human spirit, and also prove irresistible to efficacious insects).
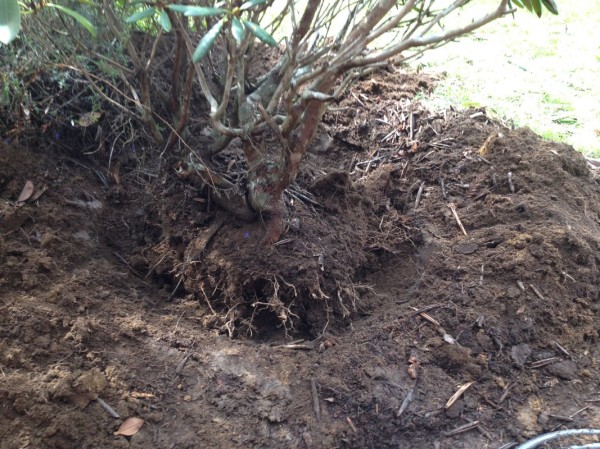
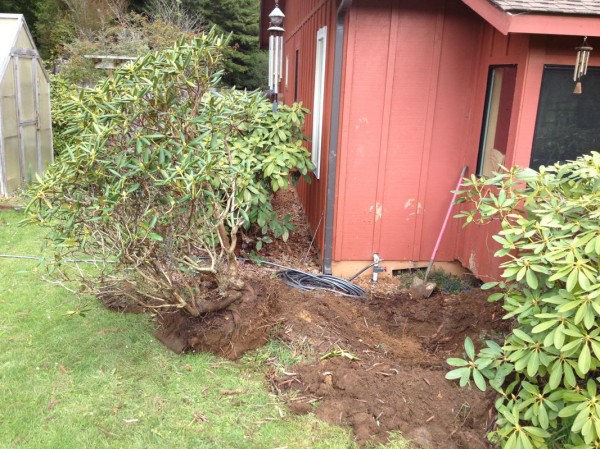
To clear space for the Meyer lemon, I needed to dig one of the rhododendrons out.
I can’t move the rhododendron any farther on my own, so I’m going to have to get someone to help me haul it into the back of the truck so I can get it over to its new location along the driveway. I’m happy we have a place for it––it would be a terrible shame to lose this beguiling member of our plant community. Let’s hope the newly vacated spot will give the Meyer lemon all the heat and sunlight it needs.
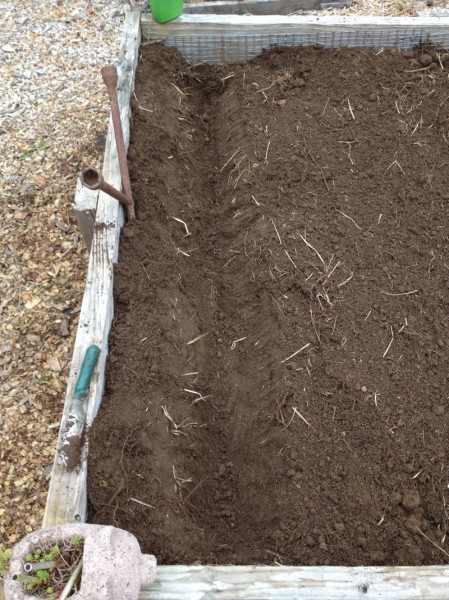
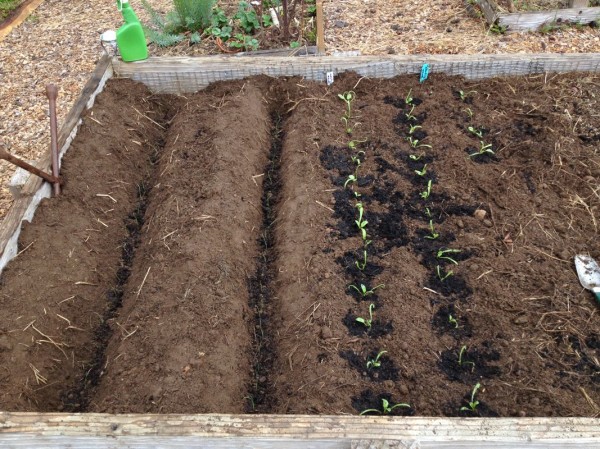
Developments in the normal garden space are unfolding nicely, so far at least. Last week I transplanted our leek and spinach starts from the greenhouse to an outdoor bed, and they are doing great. As recommended on the seed packet, I planted the leeks in 5″ deep trenches that I will fill in as the they get taller. I’m not sure if this method will help them much, but I decided to give it a try as Ma hasn’t had much luck growing leeks in the past. Their small size and relative fragility made it a bit nerve-racking to get them planted with my ogre hands, but it has been satisfying to watch them keep growing in their little trenches.
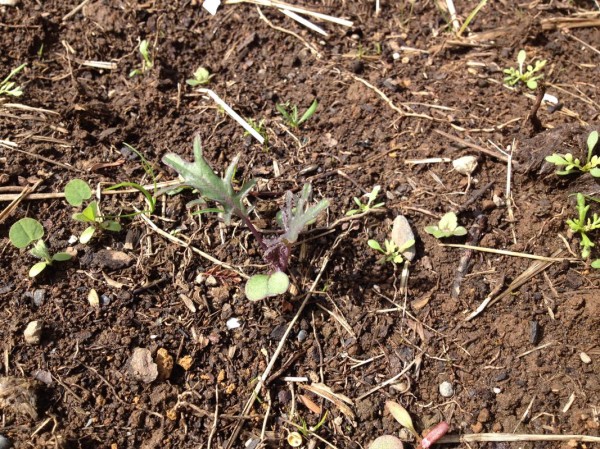
In the other half of this same bed, my direct-seeded spinach, lettuce, and kale sprouts are doing great. I went in and thinned them out earlier this week, keeping the healthiest sprouts, transplanting a few others to a nearby bed, and composting the rest.
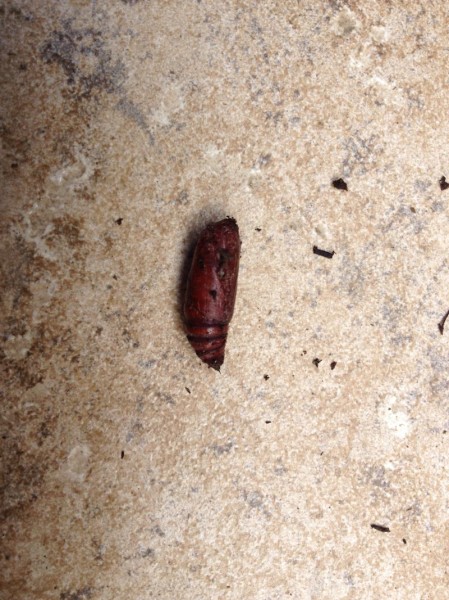
Just yesterday, I set a little experiment in motion. Digging around in the beds, I’ve now found a few of these interesting cocoons, or perhaps they are chrysalises (I’m really not sure). They look like this:
I really want to know what kind of critter is in there, especially because I can then find out if it is good for the garden or some kind of pest. I buried the cocoon in a thin layer of potting soil in a small container where I can keep an eye on it. I also put a light cover on top of the container so that whatever crawls out will hopefully be trapped inside until I can get to it. I have no idea how long it might take for something to happen, or if I will be around to witness it, but I’m hoping for something awesome. Maybe Cthulhu will emerge and end us all.
great piece, place looks great! i have seen those chrysalides (what they look like to me, like something winged will come out, prob’ly some moth, but i really don’t know either) as well over the years working in the yard, maybe you can go on-line and find an entomologist to tell you by the picture you up-load or even someone at HSU. Maybe Linda. Cthulhu?