Journal #35: Trimmed Out
by Miles Raymer
Trimming is an activity in which the artful reduction of an object often constitutes a simultaneous increase in that object’s value––a shuffling off of excess matter in order to highlight what remains. A trimmed hedge gains aesthetic appeal. A trimmed physique imbues confidence and attracts potential mates. A trimmed intellect communicates with clarity and poise.
For a house, trim is a feature that implies completion. The trim itself is an addition to the structure, which can make it easy to forget that those components are all cut from larger boards, which are themselves milled from tree trunks. We pare down reality to focus attention and appreciate detail.
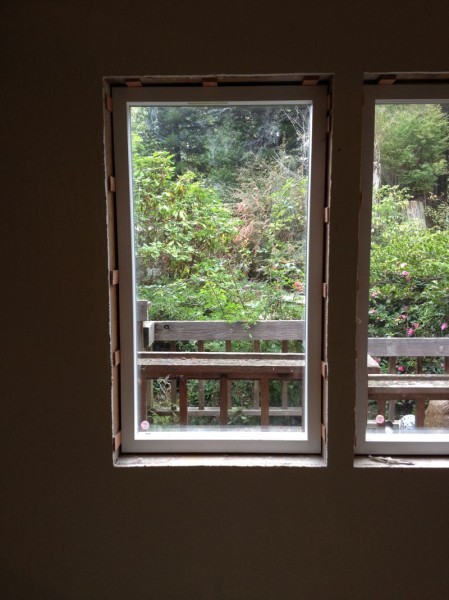
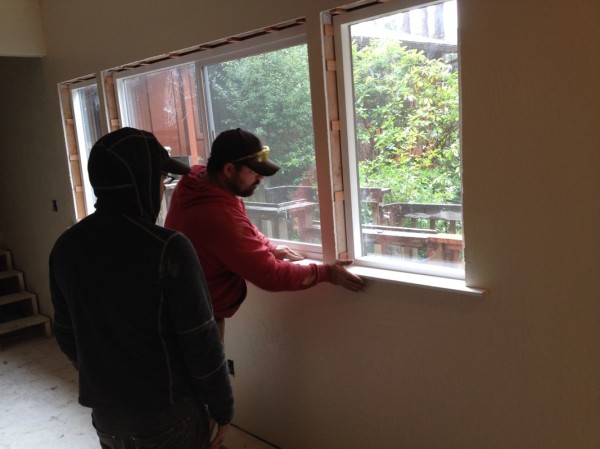
For the last week and a half, we’ve accomplished a lot on the new addition, but the most interesting process for me was learning how to trim interior windows and doors. Sean, a consummate perfectionist, began this process by showing Matt how to insert shims between the window and wood frames. This ensured that the trim nailed to these shims would produce a smooth, straight reveal.
Next, we cut and secured the window sills with the finishing nailer. The sill edges come prefinished, so all we had to do was notch them to fit around the windows.
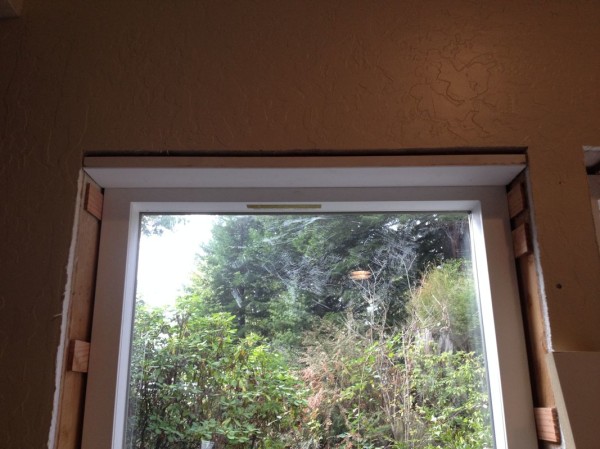
Next, we cut and nailed trim pieces for the top inside section.
Then the sides.
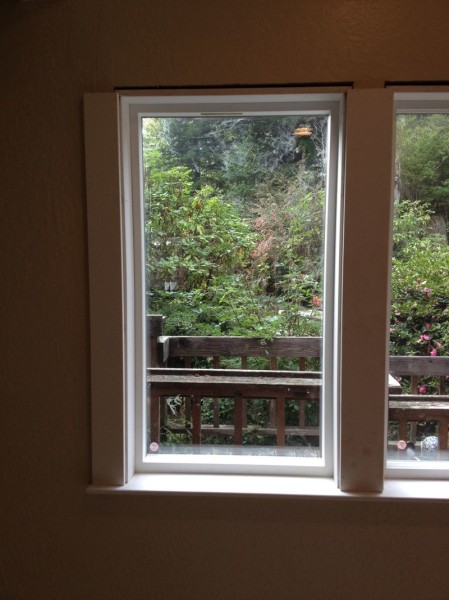
In this picture, you can see how the shims guide the trim to expose the same width of window frame all the way around.
Next, we covered the side joints with another layer of trim. We nailed each of these pieces to reveal exactly 1/4″ all the way around, creating a second reveal thinner than but consistent with the first one.
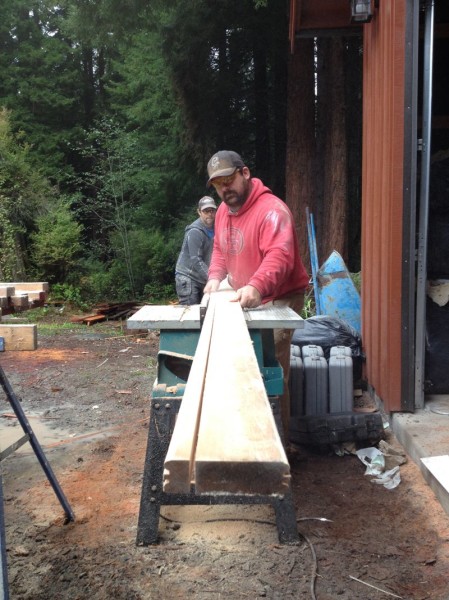
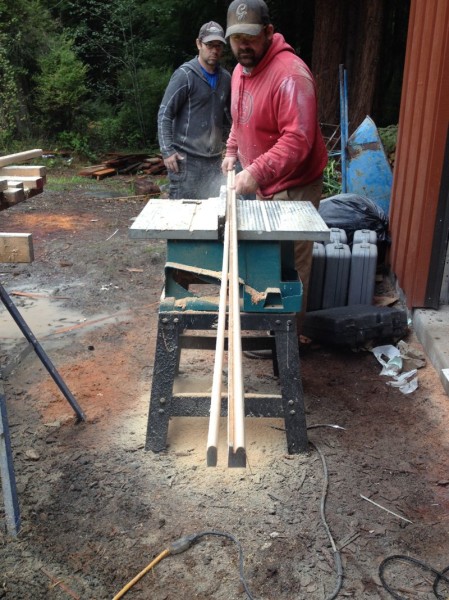
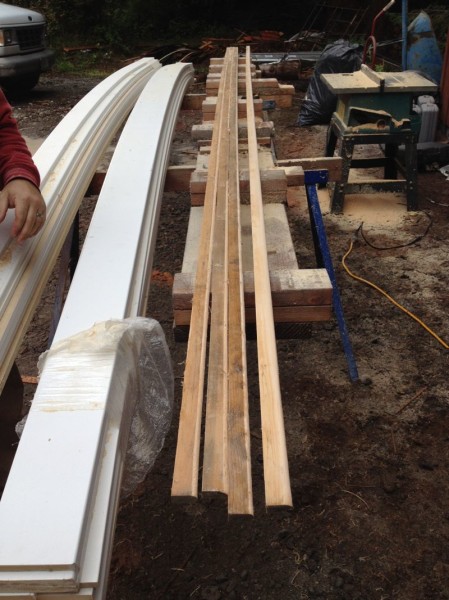
Sean likes to trim windows using a top bead that mirrors the bottom sill, which is also the style Jessie prefers. So, before we put the header on, we made beads using some cedar that was left over from the exterior trim. Sean used a special saw to give the board a curved edge, and then used the table saw to cut that edge into a long bead.
After sanding the beads down on both sides, we could cut and nail them to the top trim pieces.
We cut the beads 1/2″ longer than the top trim pieces so they would hang over 1/4″ on each side. This is the same overhang as the bottom sill.
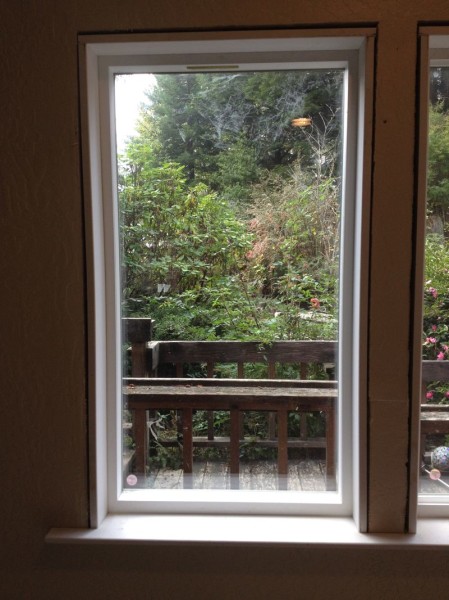
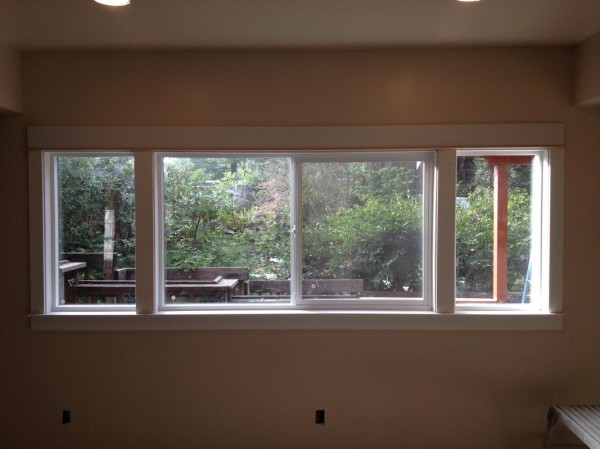
After putting in the top trim, all we had to do was add a piece below the sill for a nicely trimmed interior window.
After everything was nailed, we caulked every joint to give the trim a seamless finish.
Trimming strikes me as a task that’s easy and quick when done carelessly, but involved and meticulous when done right. The final product of a detailed job is very satisfying. Having participated in the process of trimming my own home, I’ll always be able to remember the thought and care that went into an aspect of building I’ve always taken for granted.
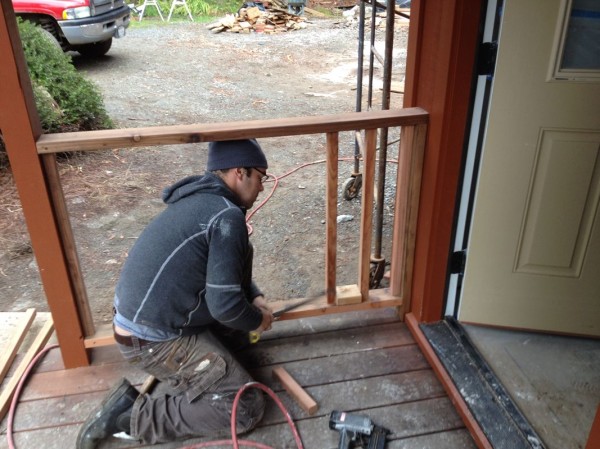
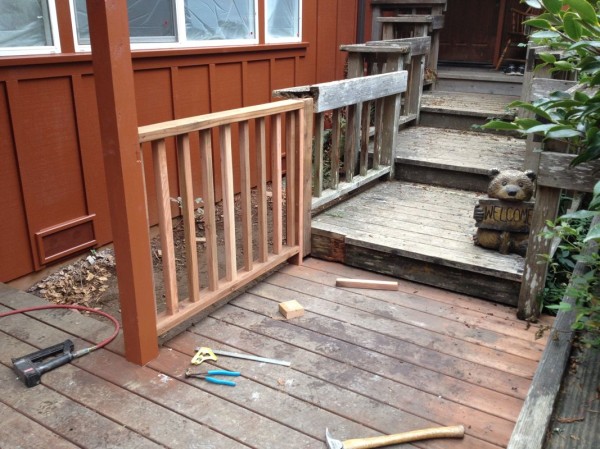
Trimming was far from the only thing keeping us busy during the last ten days. Early last week, Matt and I finished the new deck railing while Sean painted the house interior.
Blocks are useful for making sure these rods are evenly spaced. It takes a few tries to figure out precisely which size gap (starting at a maximum of 4″ and working down) will work out evenly for any given span of railing, but once you have your number, then one block will get you through the whole section.
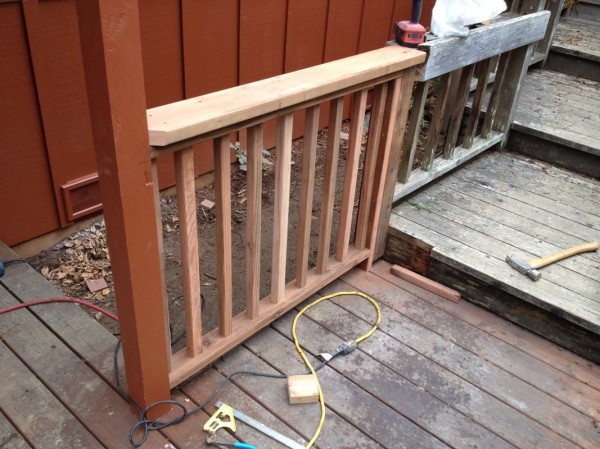
After finishing the rods, I made top caps for these rails out of 2″x6″ redwood, cutting the ends at 45 degree angles where they butt up against the posts for the roof overhangs.
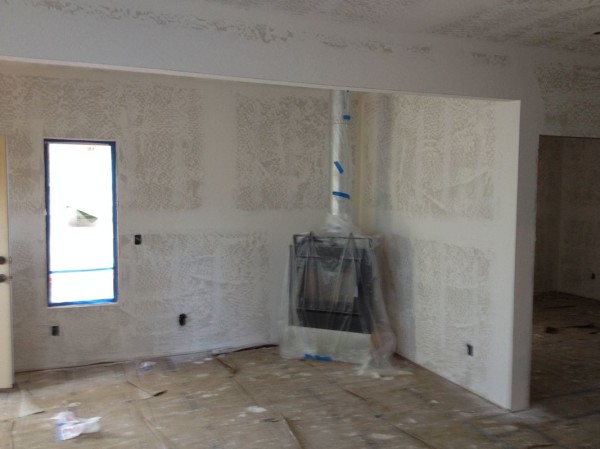
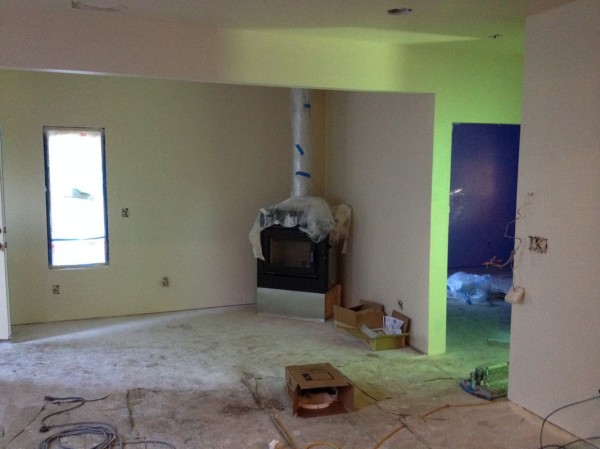
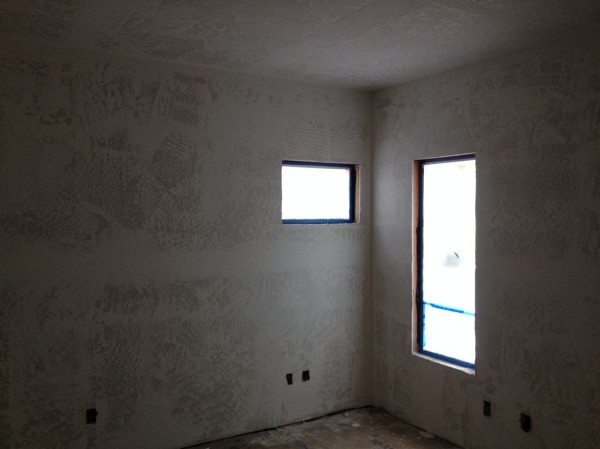
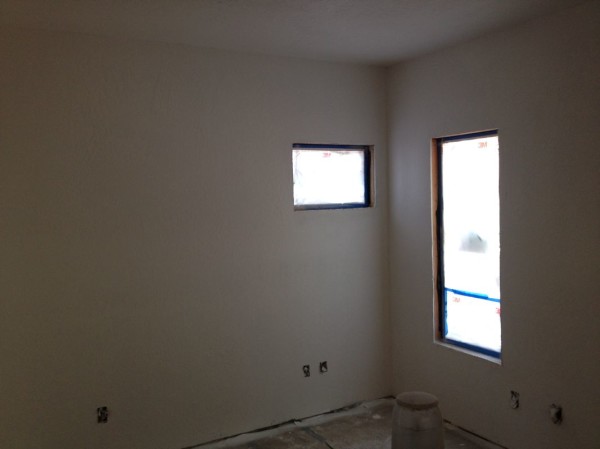
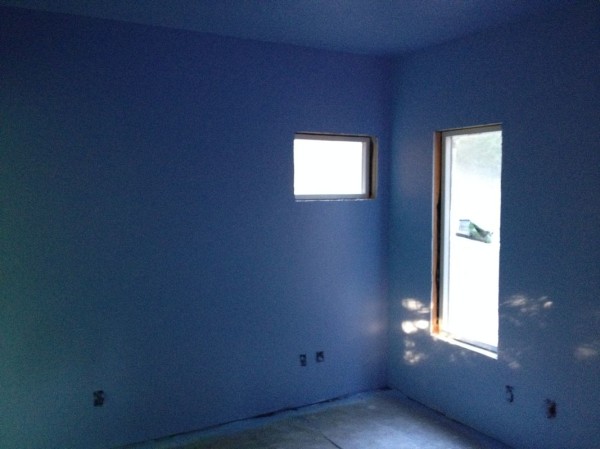
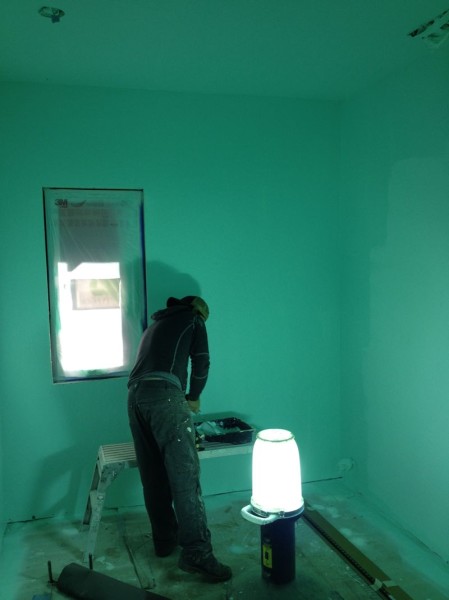
Meanwhile, Sean transformed our newly-textured sheetrock into painted walls.
Jessie did a wonderful job choosing the colors, and seeing the painted walls marked a big milestone in our excitement about the project’s near completion. It also marked a change in the experience of working on the house interior. Suddenly surrounded by newly-finished surfaces, we have to take extra care when wielding our tools and bodies. Things will get even trickier when we begin installing the wood floor.
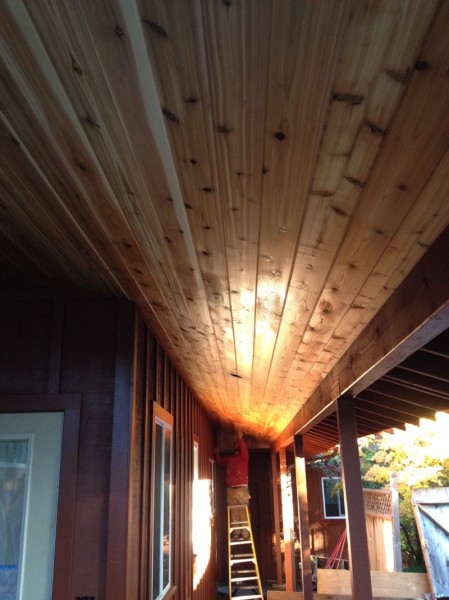
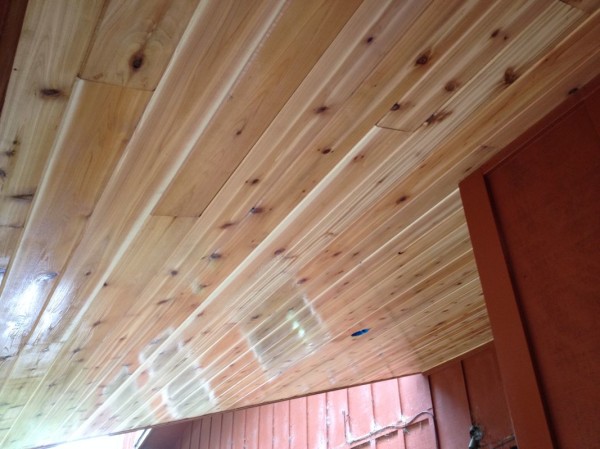
Another surface that received its last layer was the exterior cedar ceiling. Sean chose a simple clear coat that beautifully highlighted the wood’s natural grain.
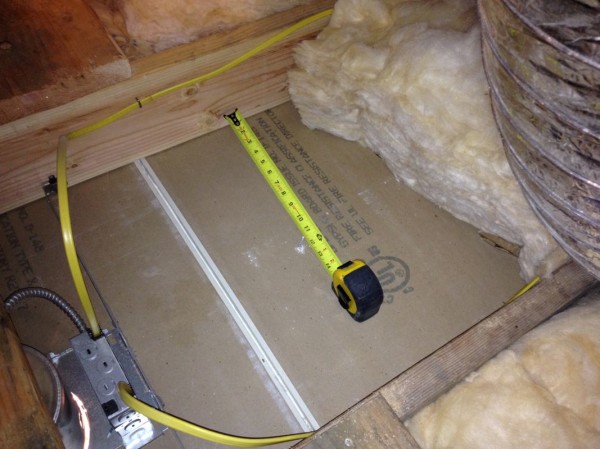
We also cut the solar tubes into the ceiling last week. This began with going up to the new attic to measure the midpoint of the rafter bays. Using nails Sean had put through the sheetrock as a reference, I located the centers for our circular cuts.
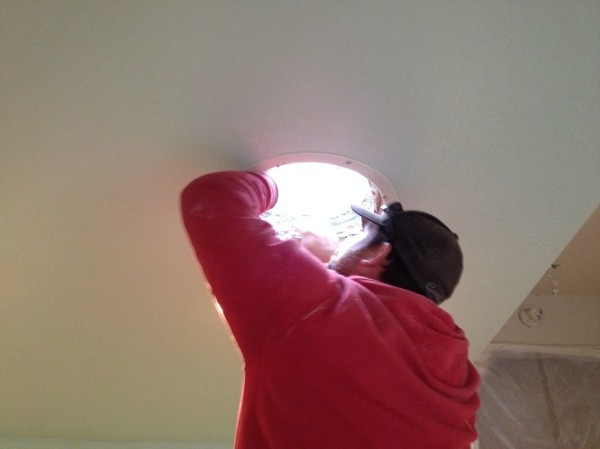
Sean used my nails to draw a circle on the ceiling’s surface, which I then cut out using a special sheetrock saw.
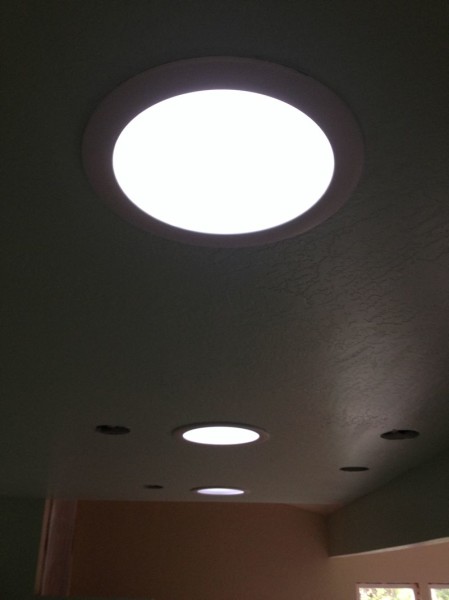
These tubes are a terrific source of natural light, even on a cloudy day. I’m especially impressed with how bright they are, given that they’re installed on the north side of our roof.
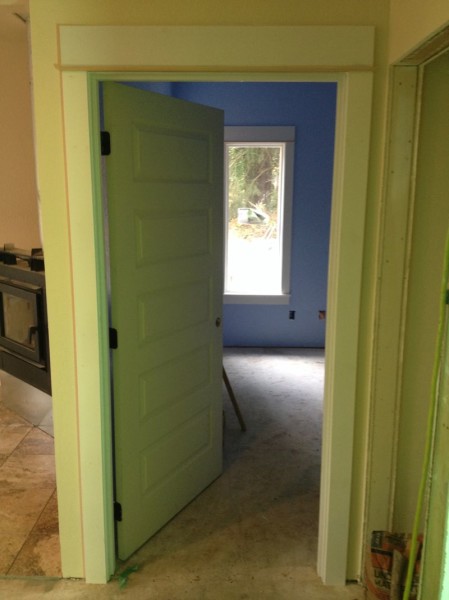
On Monday, we finished trimming the windows and Sean showed Matt and me how to install an interior door. The key is to make sure the side with the hinges gets nailed to a perfectly plumb surface (shims can be used if the edge of the door jamb needs adjustment). In our case, no shims were necessary.
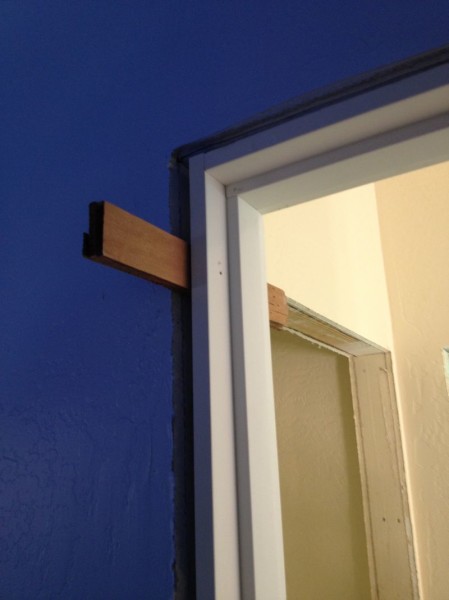
Once the hinge side was nailed, we used shims to even out two sides of the door frame. The important part here is to make sure the top of the frame is nicely leveled with the header above the jamb.
Next, we cut off the ends of the shims and trimmed the door in pretty much the same style as the windows, caulking all the joints when finished.
On Monday, we also welcomed Larry and his tractor back to the site to get things ready for our final concrete pour. This thin slab will provide a walkway up to both front doors and also a smooth ramp up to the new garage.
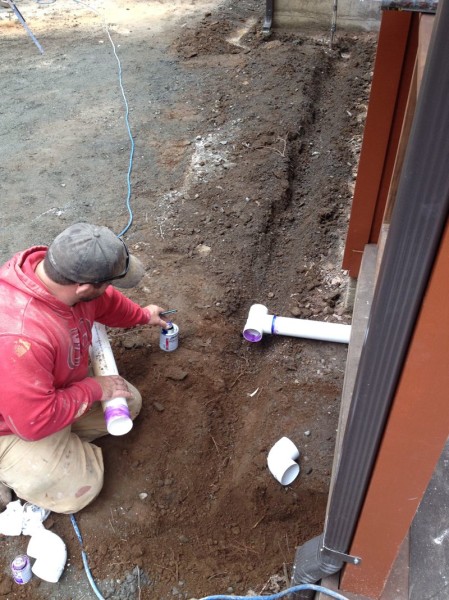
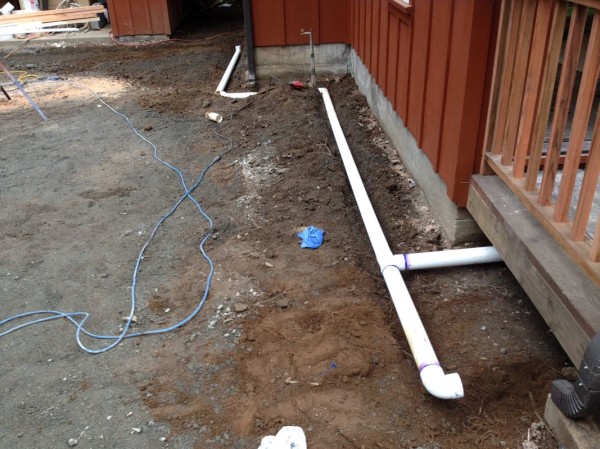
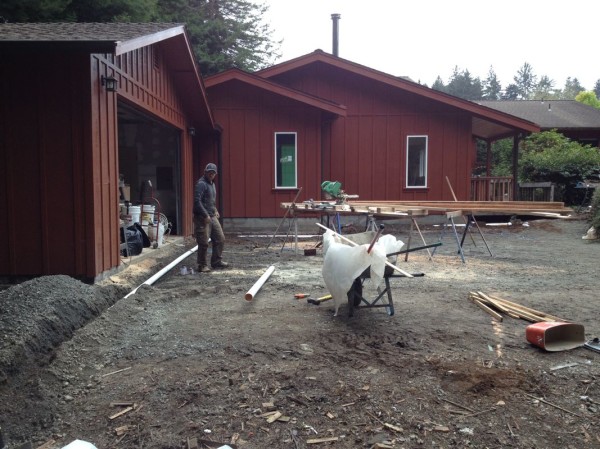
Yesterday’s main task was to set our drainpipes, which will hook up with the new gutters and direct water toward the north end of the property. We didn’t have to trench too much because most of the drains will get covered with concrete, but we did have to make sure the drains had an adequate grade to promote downward flow.
It is supposed to rain tomorrow, so hopefully we’ll be able to see how well the drain functions before covering it up. Ma and I would eventually like to install a roof-water capturing system for garden irrigation, but for now a traditional drain system will have to do. Fortunately, the northern end of our property is a natural wetland area that drains into Mill Creek, so sending water that way conforms to the natural landscape.
Keeping up with this project’s final stages is exhausting, and it’s easy to get hurt when I don’t pay attention. In a new chapter of my ongoing struggle to be more mindful of my physical safety on the job, I strained my back while loading debris for a dump run last Monday. Fortunately it’s nothing too serious or permanent, so the experience has humbled me in a good way. Still, I can’t believe my luck: even as it trims away some of my physical strength and throws in a little pain, life brings me a few steps closer to having a new home.



Miles, I enjoyed so much reading this. Not just because I do lots of house DIY and fix up myself, but also to hear your thoughts and that you are so excited about this project. Please give your mom my love and I share in the joy you are all having.
Hugs!
Thanks very much for your kind words, Bonnie, and also for reading!
So exciting!!!
LOVE IT!
Regarding water recycling: have you thought of rain barrels? They fill up very quickly.
Are those different from catchment barrels that are attached to gutters?
Thanks for reading!
looking great, trim very original, really cool.
I can make those windows sparkle!
Ha! I’m sure you will someday!
Looking good, Miles. I love that you are seeing the logical steps that assure a window is installed well and works right. Tell Jessie I love that paint color!
Will do. Any logical steps I take can be credited to Sean, who explains things carefully and always gives good reasons for his methods.