Journal #38: Almost There…
by Miles Raymer
We are closing in on the final week of construction. I feel like a diving hawk, talons spread wide and about to sink into the flesh of long-sought prey. Sean and Matt have been working as diligently as any two men I’ve ever shared a job with; I’m always hustling to keep up with their dauntless pace.
Back in October and early November, when we finished the house exterior, I experienced a preemptive sense of finality about the project. This was due to my lack of knowledge about how long it would take to properly trim out, paint, and install all required components inside the house. During much of November, I went through an emotional slump during which it felt like the house would never be done. I knew we were making steady progress, but found it difficult to see completion drawing closer. After this week, however, I can see how near we are to finishing, and all that excitement is rushing back to me.
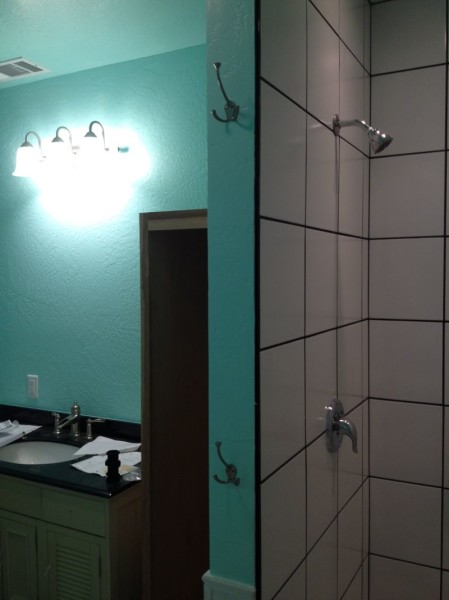
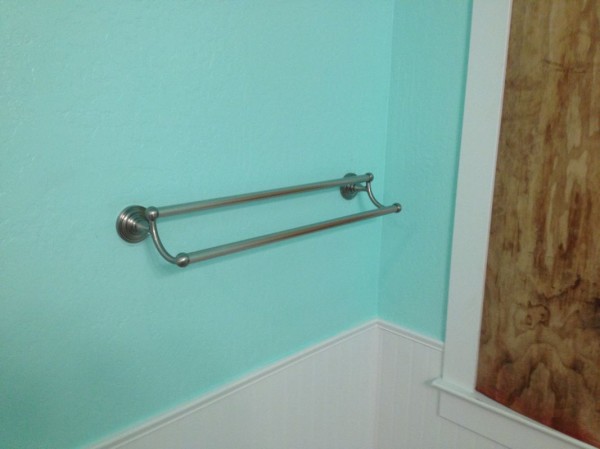
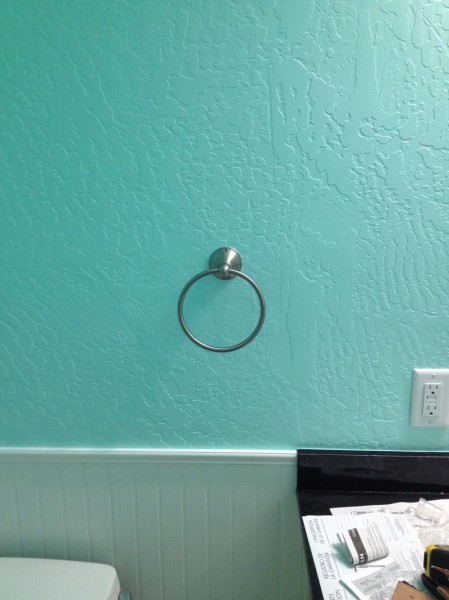
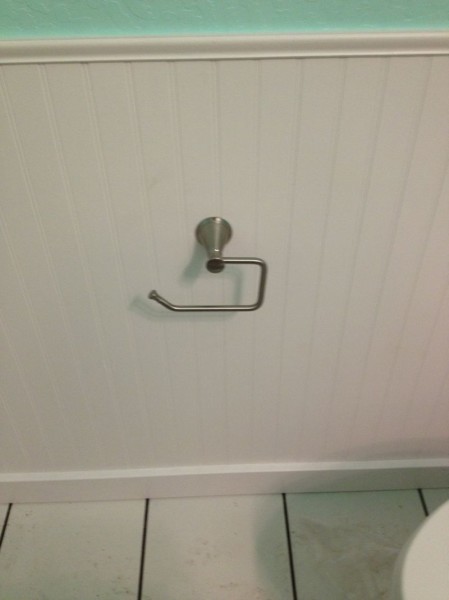
The first thing Sean and I did on Monday was install the bathroom fixtures.
These were all quite easy to put in, and also very satisfying. Months ago, when we were framing the walls, Sean asked me about where I wanted these fixtures, so I gave him a rough idea and we took some measurements. Then we put blocks in between the studs so we’d have something solid to screw into without having to worry about finding the studs first. Sean recorded the measurements on a piece of cardboard, which he used on Monday to approximate the blocks’ locations now that they are covered by sheetrock. Once we located the blocks, it was a simple matter to choosing the best positions and screwing the fixtures into the wall. This is a great example of how careful forethought saves builders a lot of effort and time.
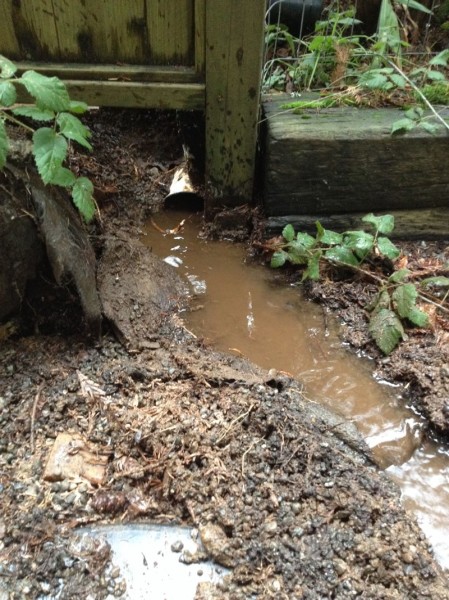
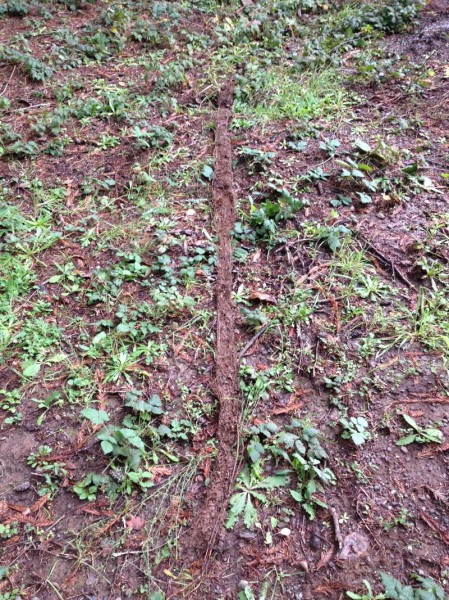
We also solved a minor drainage problem this week. One of our new gutters ties into an old drainage pipe, and we noticed that during particularly hard rains the pipe would get backed up and overflow at the point where the gutter drains into the pipe. We realized that the pipe must be at least partially obstructed, but couldn’t figure out where the pipe ended. To solve this, Sean used a special nozzle that screws onto the hose. The nozzle inflates with water and creates a seal on the inside of the pipe, forcing water pressure to build up. Soon, we noticed a steady stream of water bubbling up near the edge of our fence. With just a little digging, I unearth the pipe and was able to clean it out to improve the flow. Now the rainwater will drain more easily into the soggy wetlands on the north end of the property.
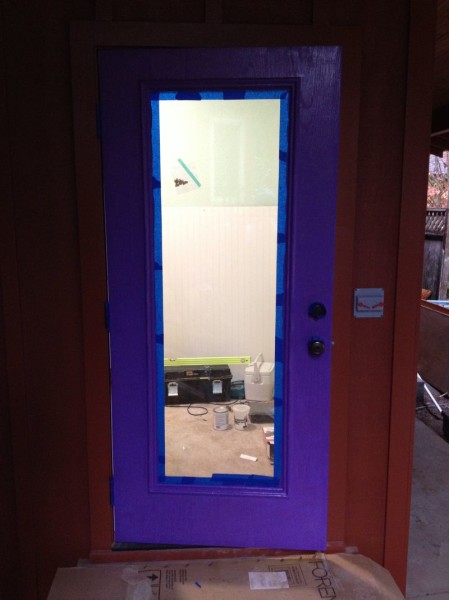
Jessie and I have always been fans of modestly painted houses with doors that pop, so we decided to pick a bold color for our new back and front doors. Purple has been my favorite color ever since I can remember, so it felt like a natural fit when Jessie suggested we try it. We found a shade called “Mystical Grape” that tickled our fancy, so Sean picked up a quart and I decided to test it out on our back door.
Painting is mostly prep work. Taping off edges takes a lot of time and attention, and it has to be done carefully if you want a shot at clean lines. It took me longer to get the door properly taped off and ready to be painted than it did to actually paint it. Two full coats are a must if you want a solid, consistent look.
Jessie and I think the door turned out great, and I’m going to paint the front door sometime next week. My one disappointment was that when I removed the tape from around the window, it pulled some strips of paint off the edge of the trim closest to the glass. I’m going to have to re-tape a few sections and touch them up, but I learned a good lesson, which is that I should always run my knife along the edge of the trim before removing the paint. This will separate the paint on the tape from the paint on the trim, thereby lessening my chances of stripping the paint off.
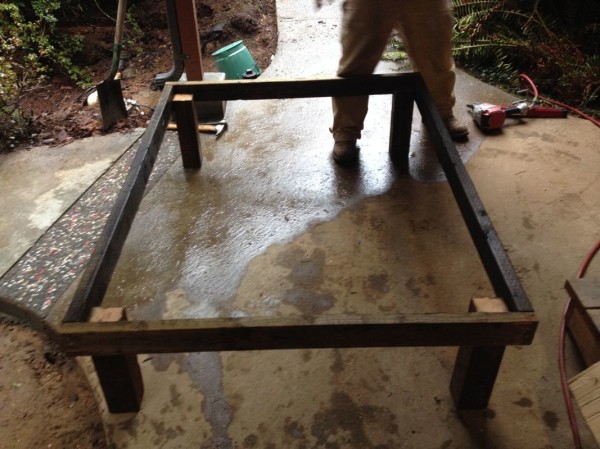
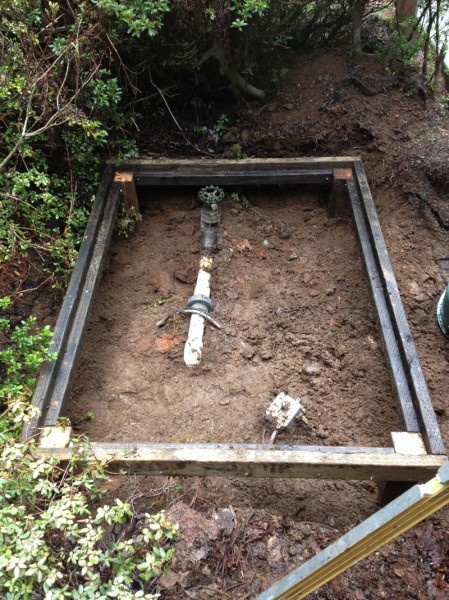
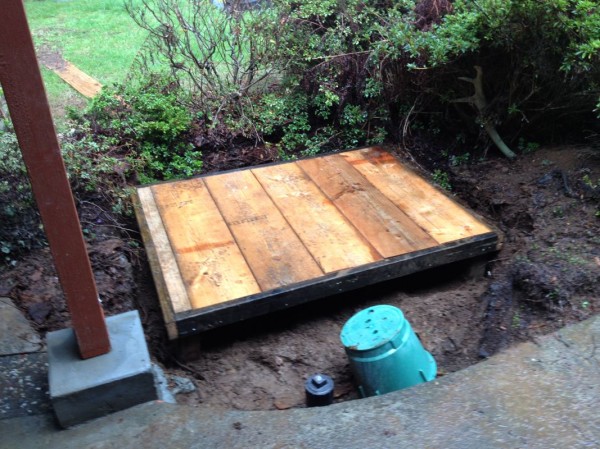
Another job this week was building a new cover for our sewage tank and pump. Sean decided to build a simple box with 14″ legs and trim on the inside so we could lay boards across the top.
The box is built entirely with pressure treated wood, so it won’t rot. The cover boards will need to be replaced eventually, which will be easy since they are just sitting on the box and aren’t nailed down. This will also provide easy access to the tank and pump when necessary.
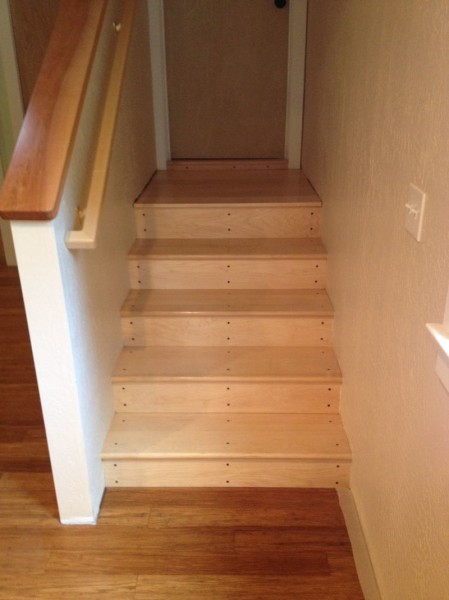
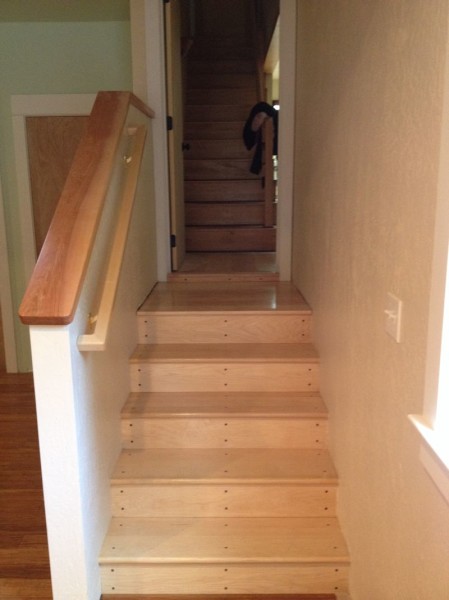
The interior stairs are almost finished, thanks mostly to Matt’s hard work. He has done a terrific job sanding and coating them with multiple clear coats. They blend in nicely with the existing stairs.
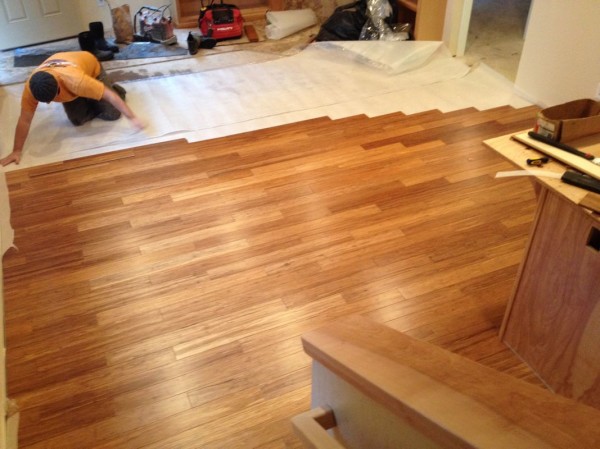
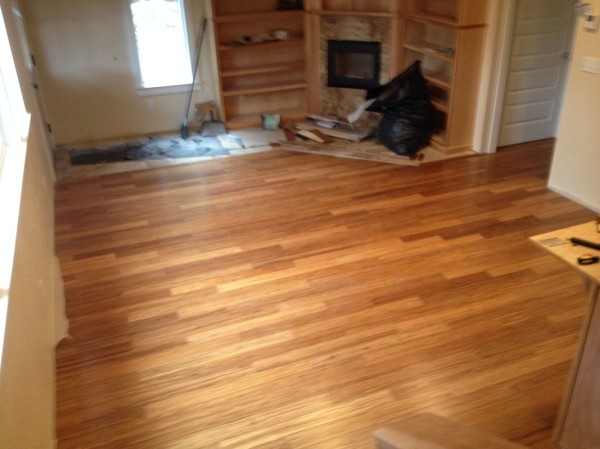
On Thursday and Friday, we managed to put in almost all of our woven bamboo flooring. This floating floor is a green building material and comes in boxes of pre-cut strips that snap together for a snug fit. It’s not as durable or solid as a traditional wood floor, but it’s much cheaper and easier to put in.
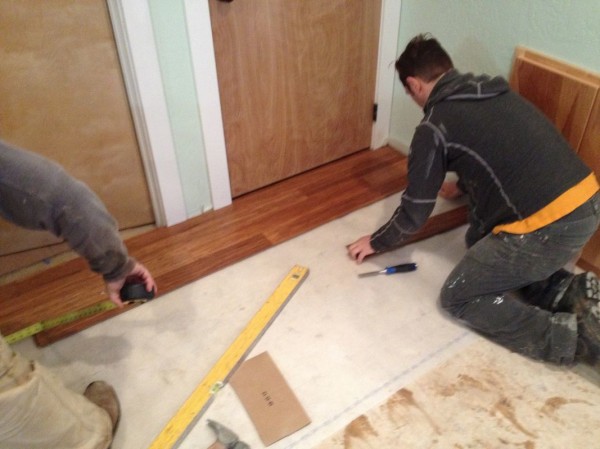
Sean purchased a thin white padding (shown above) that acts as a moisture barrier and also gives the floor a little extra cushion. After we swept the floor thoroughly and laid the padding out, Sean began cutting strips to fit around and underneath the door trim. Once those were in, it was easy to start interlocking full strips.
There are two very important rules when laying down a floating wood floor. The first is that you need to have a consistent pattern of varying lengths for the strips you use to start a new row. Our full strips are 3′ long, so our initial pattern was to begin with a 1′ strip, then start the next row with the 2′ strip, and then start the next row with a full strip. Then we would start the pattern over. This ensures that the joints between strips will be overlapped by a full strip in the next row. It looks good and also keeps the floor tightly locked in place. Also, when transitioning into a new room or space, we had to measure off existing joints and find new numbers for our starting lengths in order to keep the pattern consistent throughout the house.
The other crucial rule is to do your best to stay square to the wall you are aiming for. That means making sure the first row of flooring is the same distance from the target wall all the way down. Once we had our first row set where we wanted it, we put in a few temporary nails to ensure that the row couldn’t slide off target. This helped ensure that we would get as close as possible to a straight line when ending up on the opposite side of the living room.
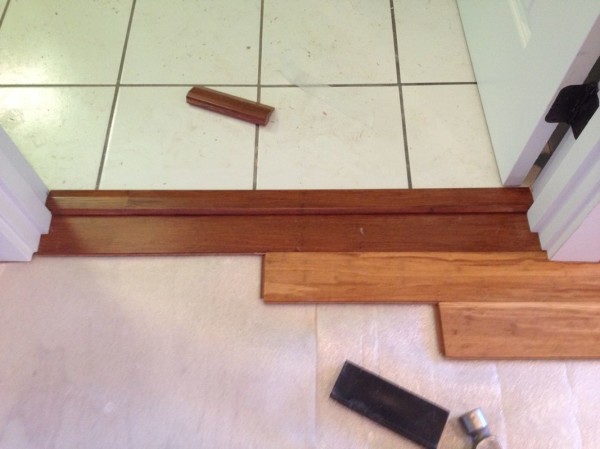
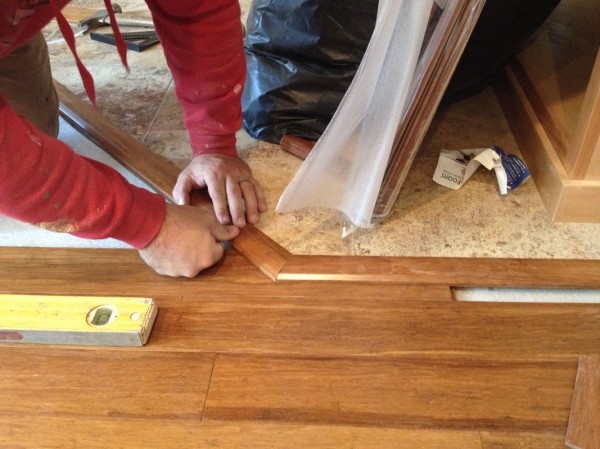
A special trim piece is needed where the floor meets the tile, both in the living room as well as the bathroom. After examining the trim kit, Sean discovered that we’d actually ordered the wrong one. The trim we had was cut to fit between tile (or wood floor) and carpet, rather than between wood and tile or wood and wood. In a characteristic demonstration of ingenuity, Sean figured out how to cut the trim so it could work as a barrier between the wood floor and tile. It required some tricky work with the table saw, but Sean was able to put a new notch in the trim that made it suitable for our purposes.
We aren’t quite done trimming the living room floor out yet, but what we have so far looks great.
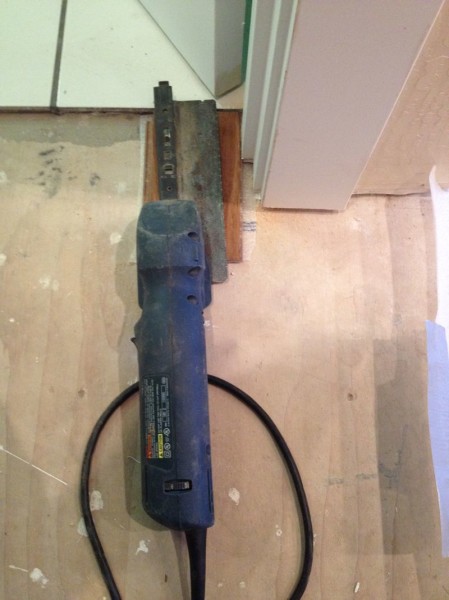
Sean also taught me a neat trick that makes it much easier to install flooring around door trim. Instead of cutting the floor strips to fit around the trim, we used a flat saw to cut the trim off at just the right height so we could slide the flooring under it. To accomplish this, I used a piece of the padding with a block of flooring on top, and then held the flat saw flush with the floor to cut through the trim.
Cutting the trim this way saved us a lot of time and also made the transitions between the door trim and floor look very smooth, with no chance for gaps from ill-fitting cuts.
By the end of the day on Friday, we’d put down floor everywhere except the bedroom, which was only about halfway done. Not bad for a couple days’ work.
Jessie, Ma and I think the floor looks beautiful, and having it installed really makes this place feel like the new home it is about to be. If everything goes as planned, the project will be completely finished just in time for Jessie and I to get moved in before Christmas. Make sure to check back next week to see the finished product!
Everything looks really nice. Agreed on the floor. Beautiful!
Thanks for reading!